Plan the sequence
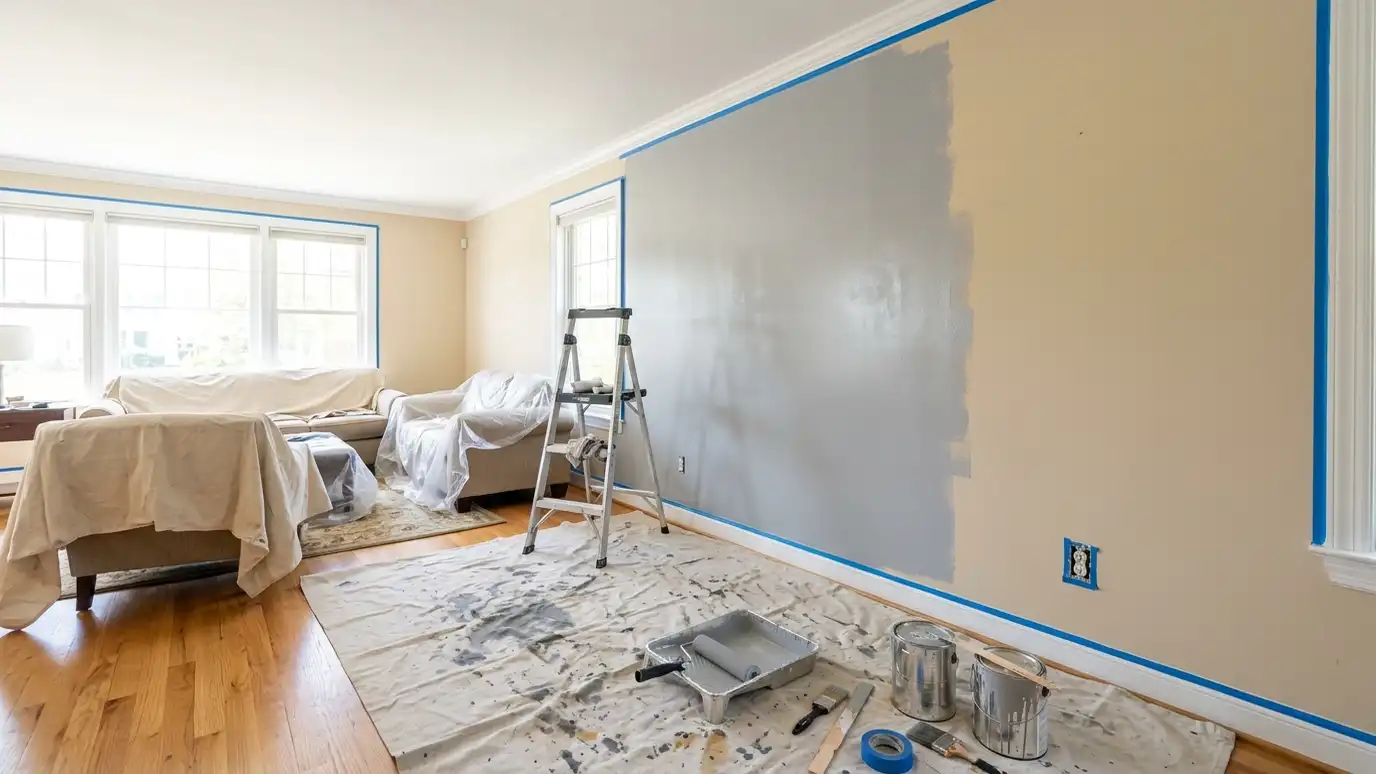
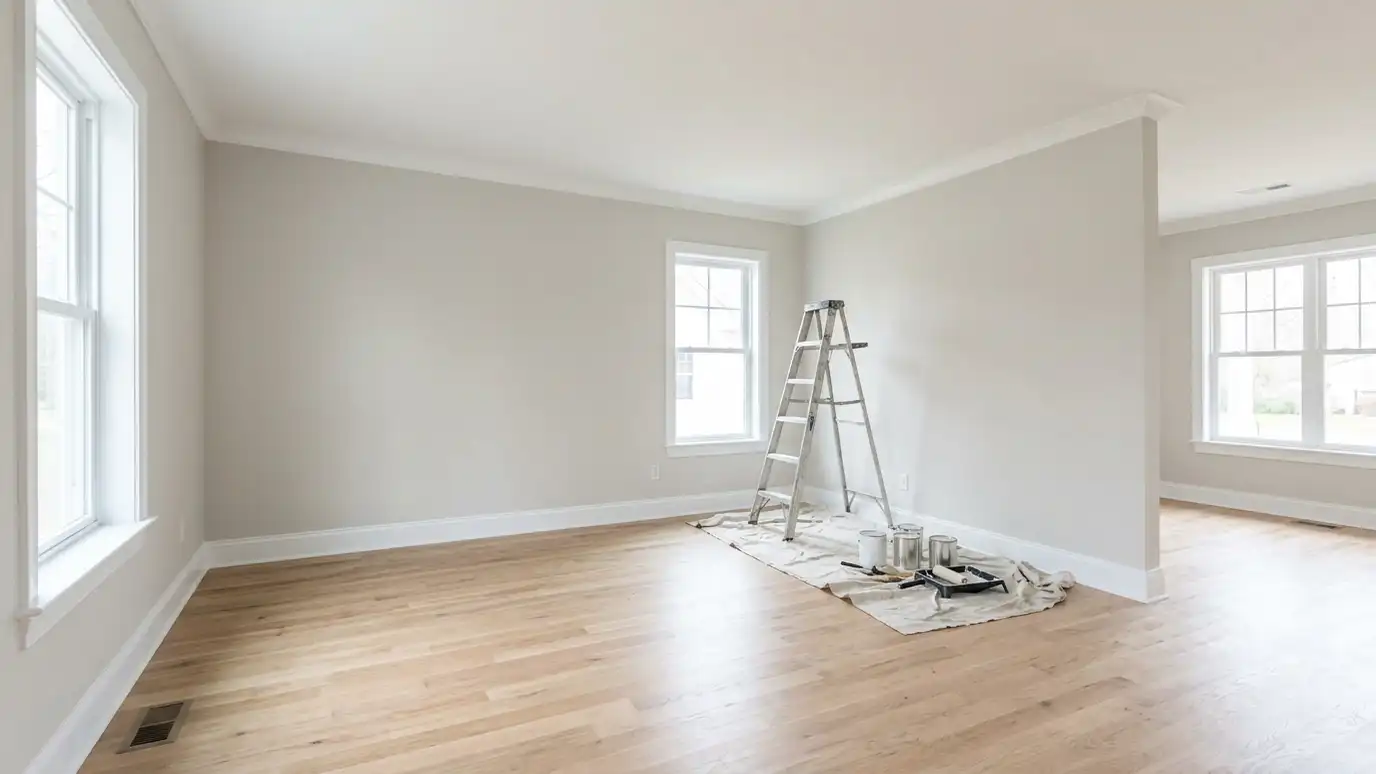
Interior painting goes smoothest in order: repairs and priming first, then ceilings, then walls, then trim and doors. This order keeps drips and dust from damaging finished surfaces.
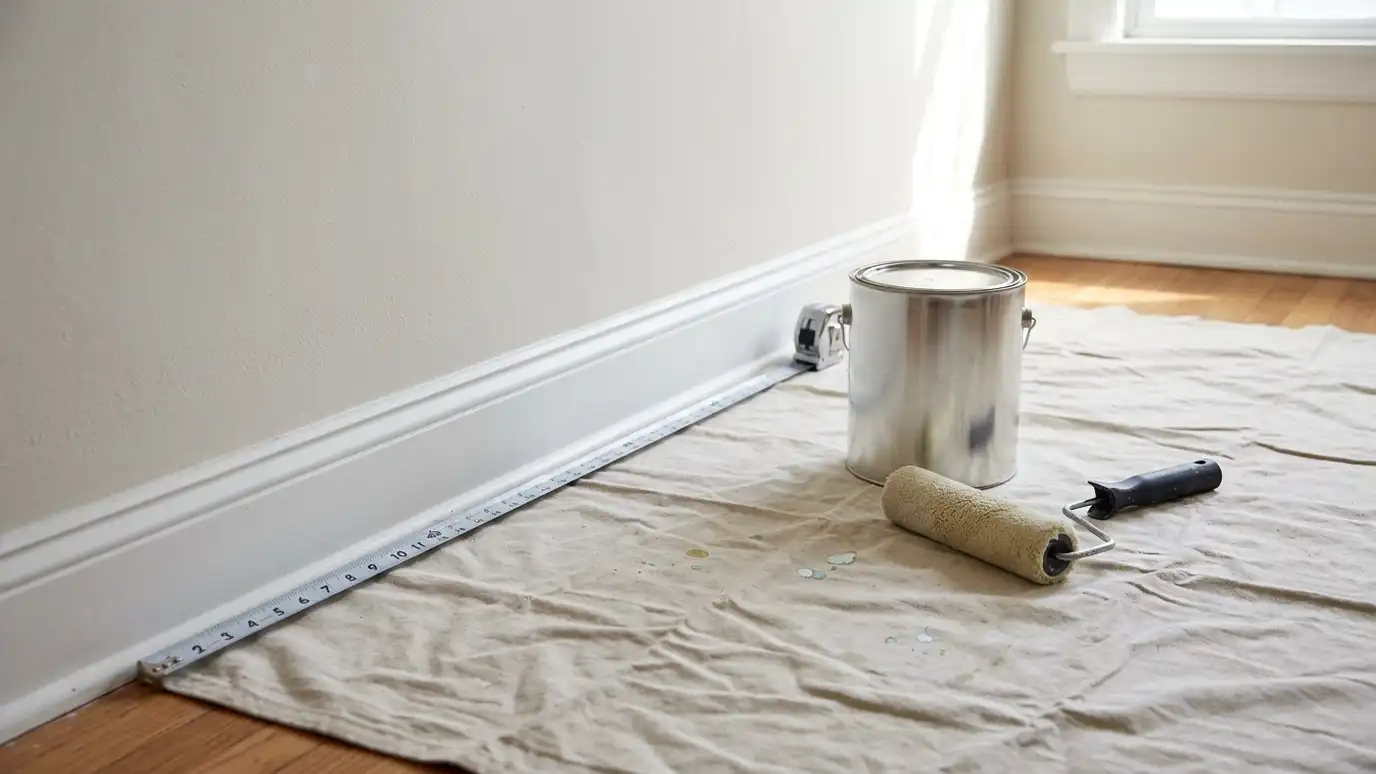
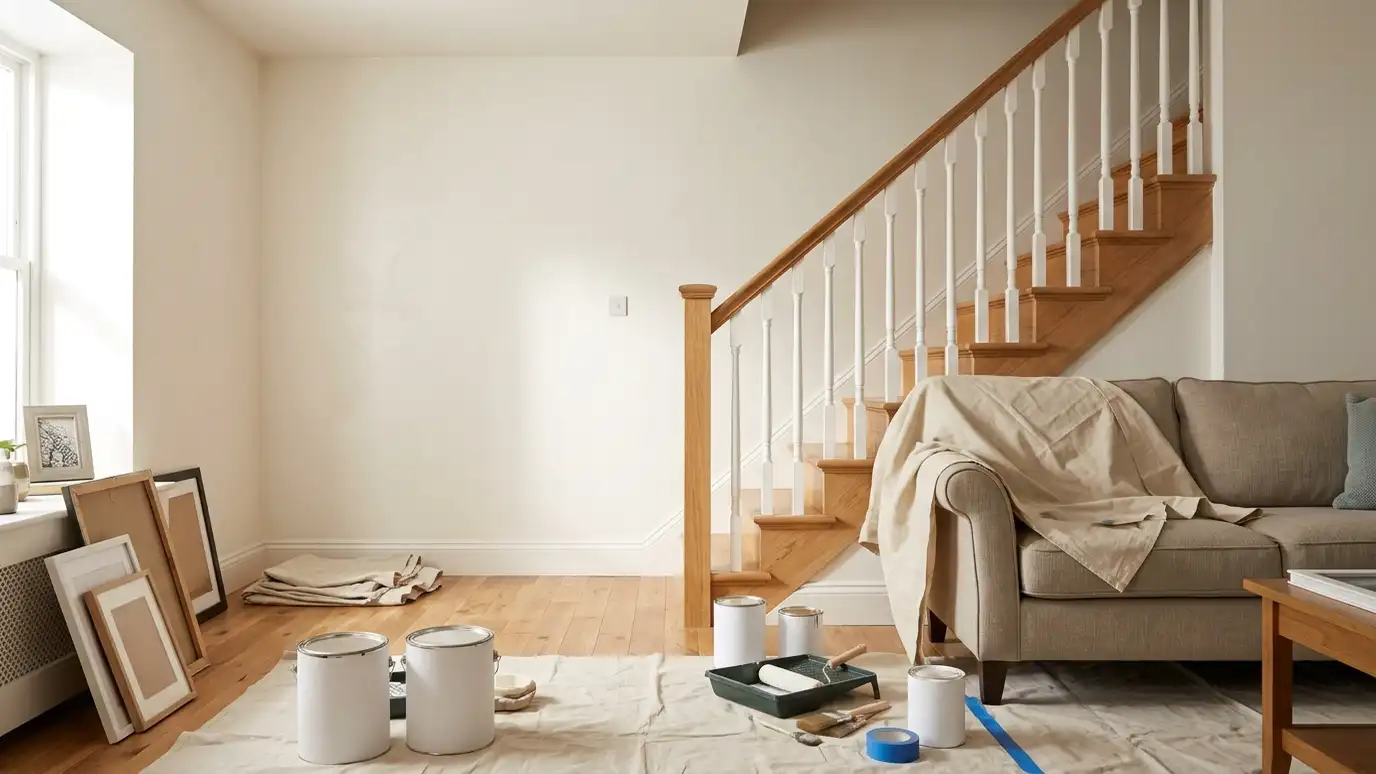
Floors and furniture are covered, and fixtures are masked or removed. Switch plates are taken off and put back at the end.
Doing the work in the right order saves time and prevents rework.
A clean workspace helps every step. Removing dust, vacuuming baseboards and wiping walls before painting avoids bumps and specks in the finish.
Ceilings
Ceilings are usually painted in flat white to hide flaws and reflect light. Stains need stain-blocking primer first, and popcorn or textured ceilings need different tools.
Painting ceilings first means any drips land on bare floors rather than on finished walls.
Choose a ceiling paint with good coverage, since ceilings show every roller line in side light.
If you have recessed lights or crown molding on the ceiling, plan extra time for cutting in. These details need patience for a crisp, clean line.
Walls
Walls take most of the paint. Cut in edges with a brush, then roll with a roller nap suited to the wall texture. Maintain a wet edge to avoid lap marks.
Two coats are common, and dramatic color changes may need primer and more coats.
Eggshell and satin are popular in living areas, and washable finishes suit kitchens, halls and kids rooms.
Use the right roller for the wall. Smooth walls like a short nap, and textured walls need longer naps. Using the wrong roller leaves lint, streaks or uneven coverage.
Trim and doors
Trim frames a room and takes the most care. We sand, caulk, prime bare spots and apply hard enamels in satin or semi-gloss.
Doors are best painted flat if removed, or carefully brushed and rolled in place. We let each coat dry fully.
Crisp trim lines make the whole room look finished.
Painting trim last lets you correct any drips or smudges from wall work. It also gives the room a crisp frame that makes the colors look more deliberate.
Kitchens, baths and busy rooms
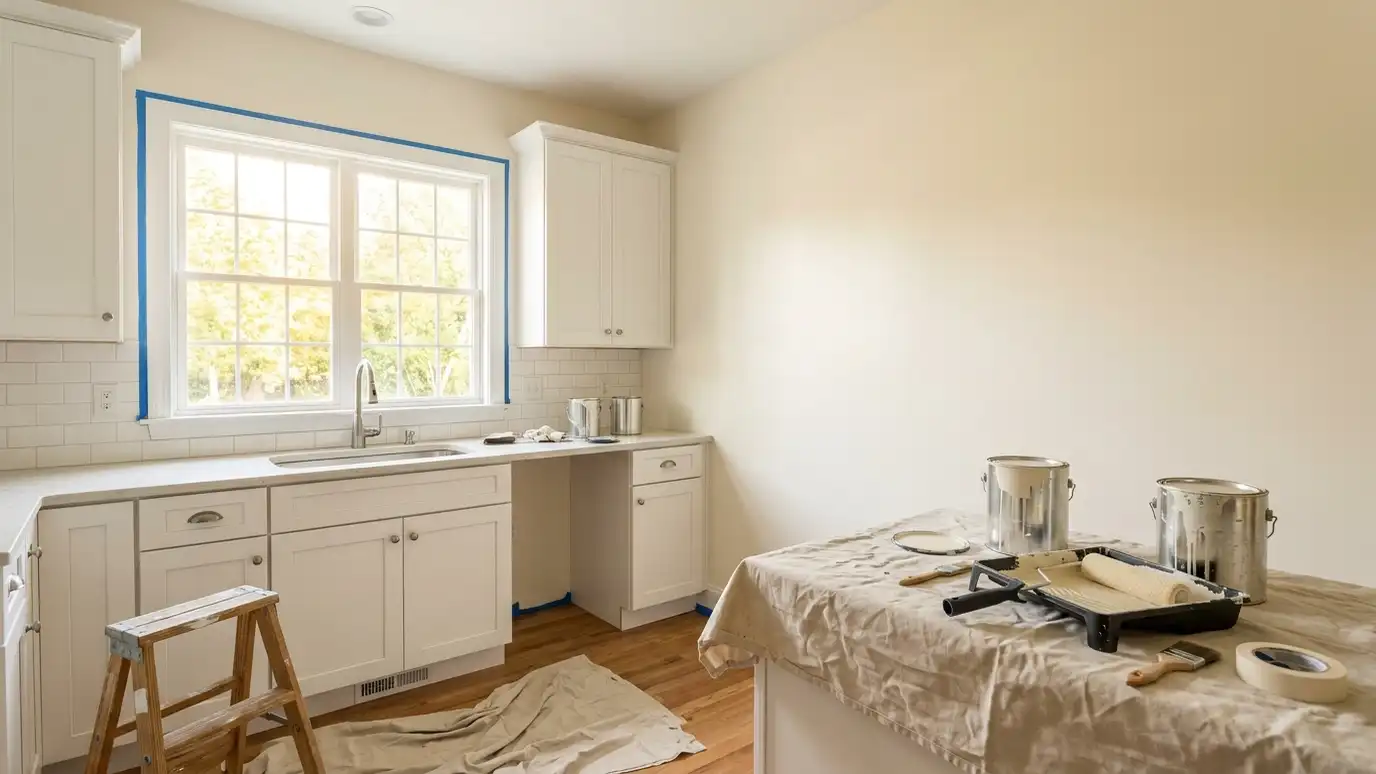
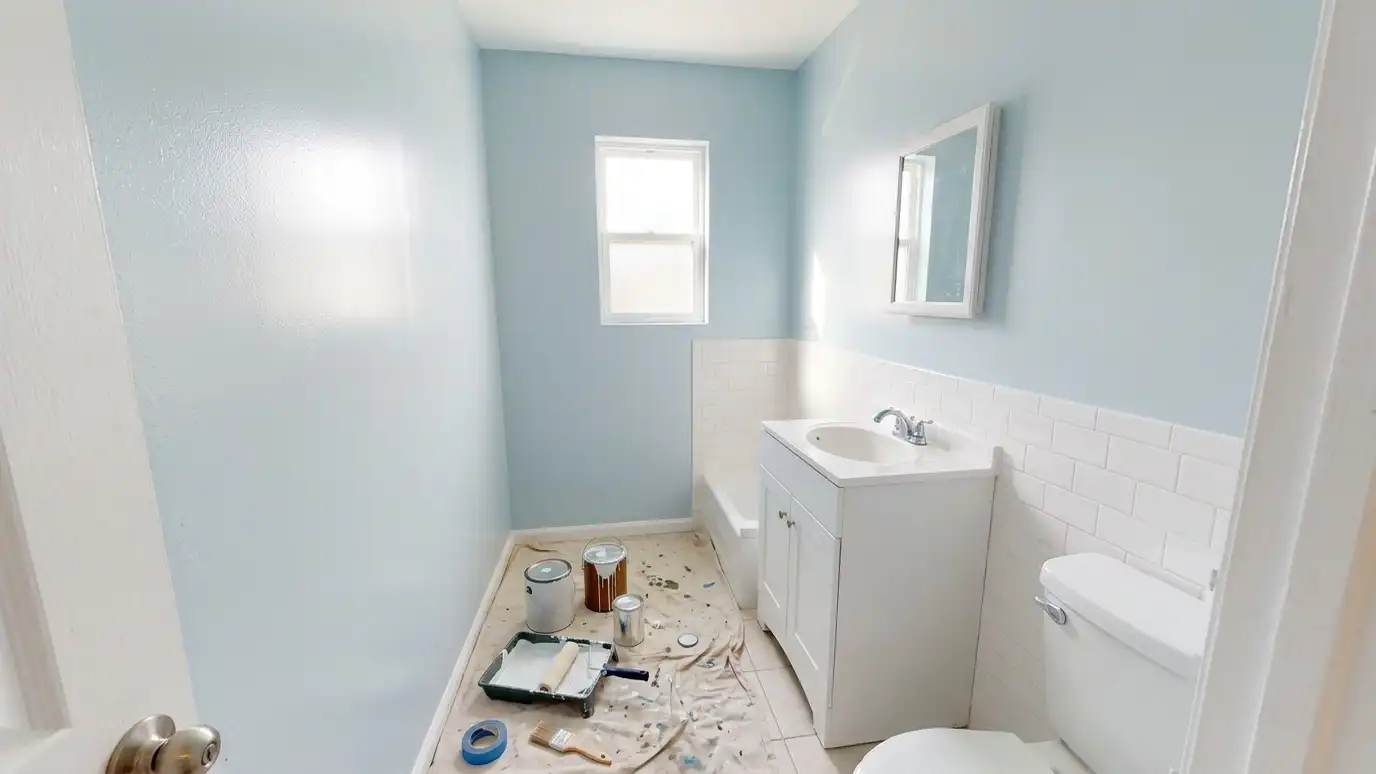
These rooms need washable, moisture-resistant finishes and good ventilation. Steam, grease and splashes demand tougher paint.
Prep is key: cleaning grease, sanding glossy surfaces and priming where needed.
Choose finishes that you can wipe without scrubbing the color off.
In steamy rooms, run the exhaust fan during and after painting. Good airflow helps paint dry, and it reduces the chance of moisture-related problems later.
Common mistakes
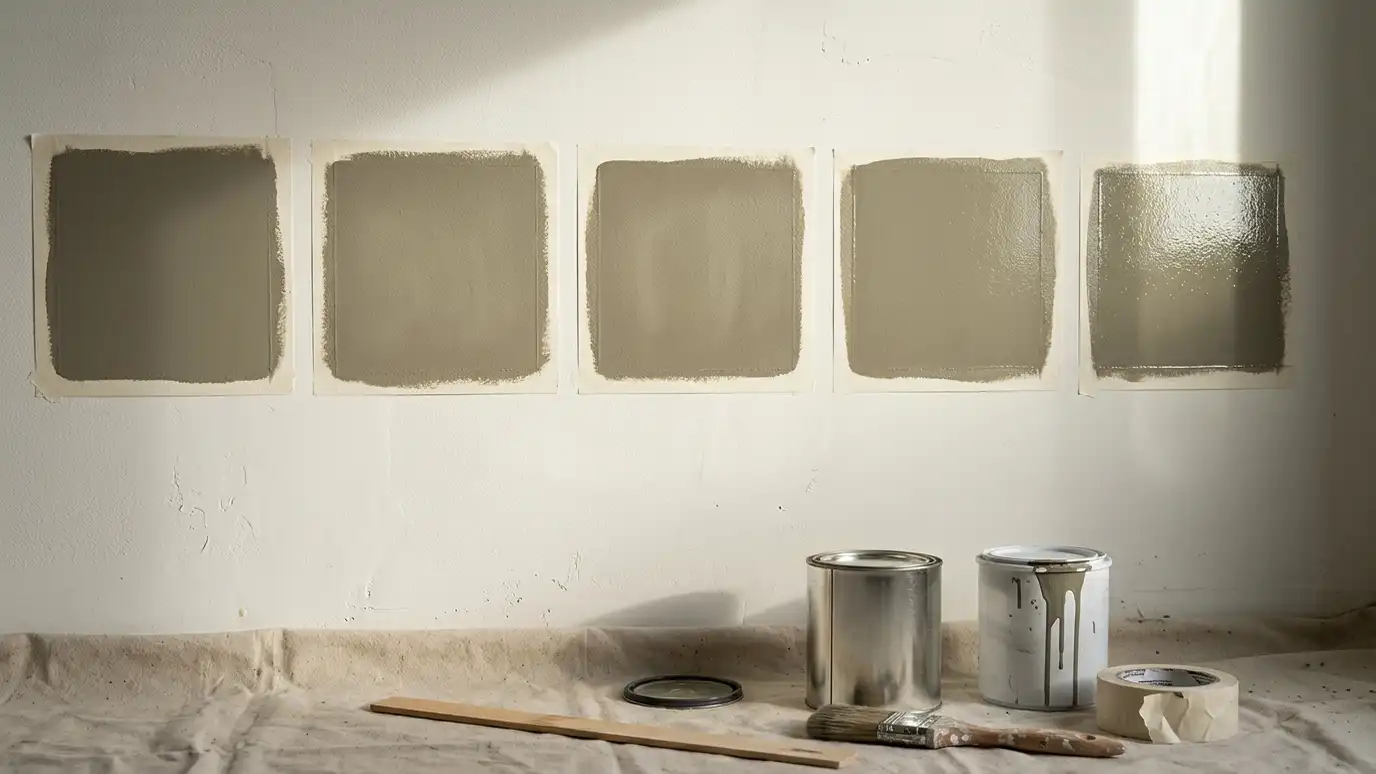
Skipping prep, painting over dirt or grease, using too little primer, rushing coats and choosing a color from a tiny chip are the most common errors.
Painting without ventilation or in very cold or humid weather can also cause problems.
A little planning avoids most of these mistakes.
If a mistake happens, such as a drip or a missed spot, fix it while the paint is still workable. Waiting often makes a small fix into a noticeable one.
Prep, sequence and patience matter more than any single product.