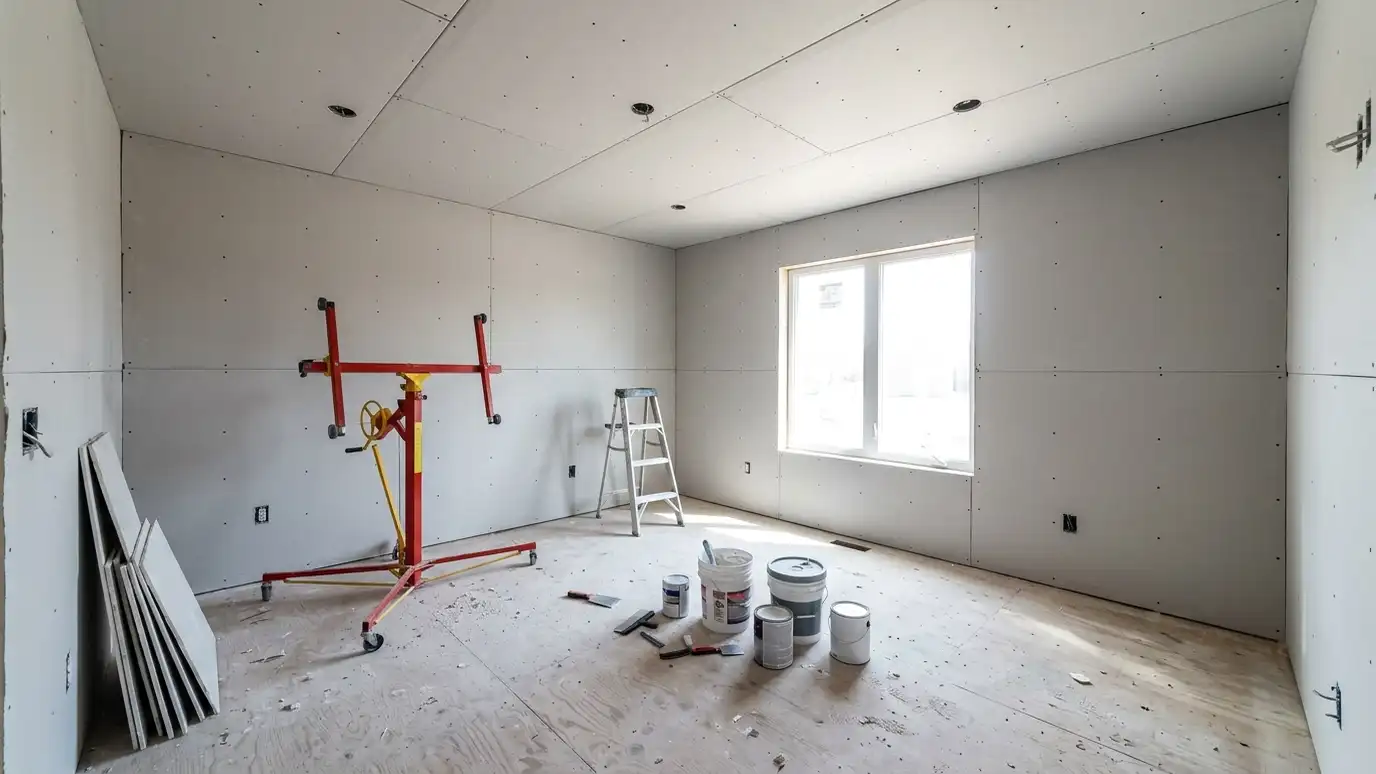
Planning and board selection
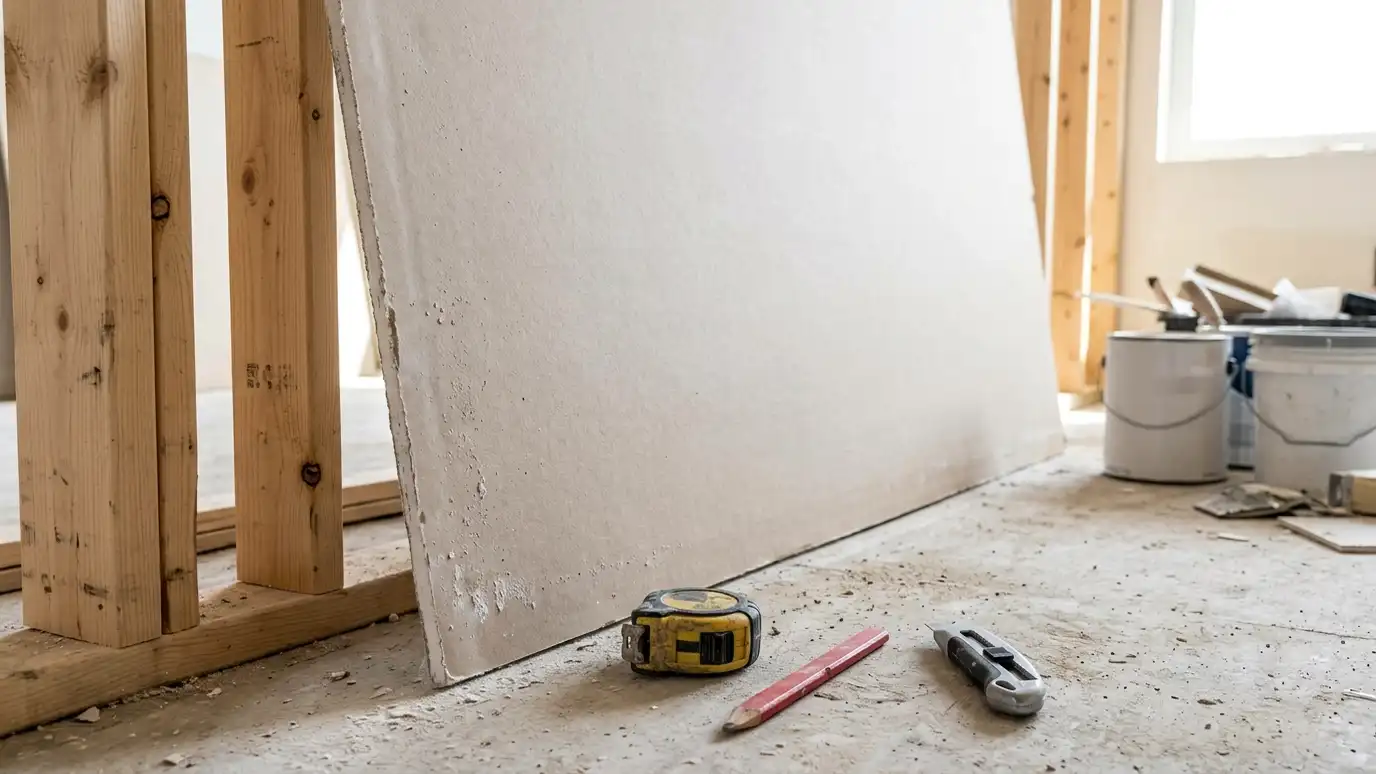
Drywall planning starts with the room: standard board for most walls, moisture-resistant board for baths and basements, fire-rated board for garages and shared walls and thicker board where strength or sound control matters.
Sheet layout is planned to reduce seams and keep joints away from stress points.
Framing, electrical, plumbing and insulation are completed and inspected before board goes up.
Ask your builder or remodeler when inspections happen, so drywall begins only after framing, electrical, plumbing and insulation have been approved.
Hanging
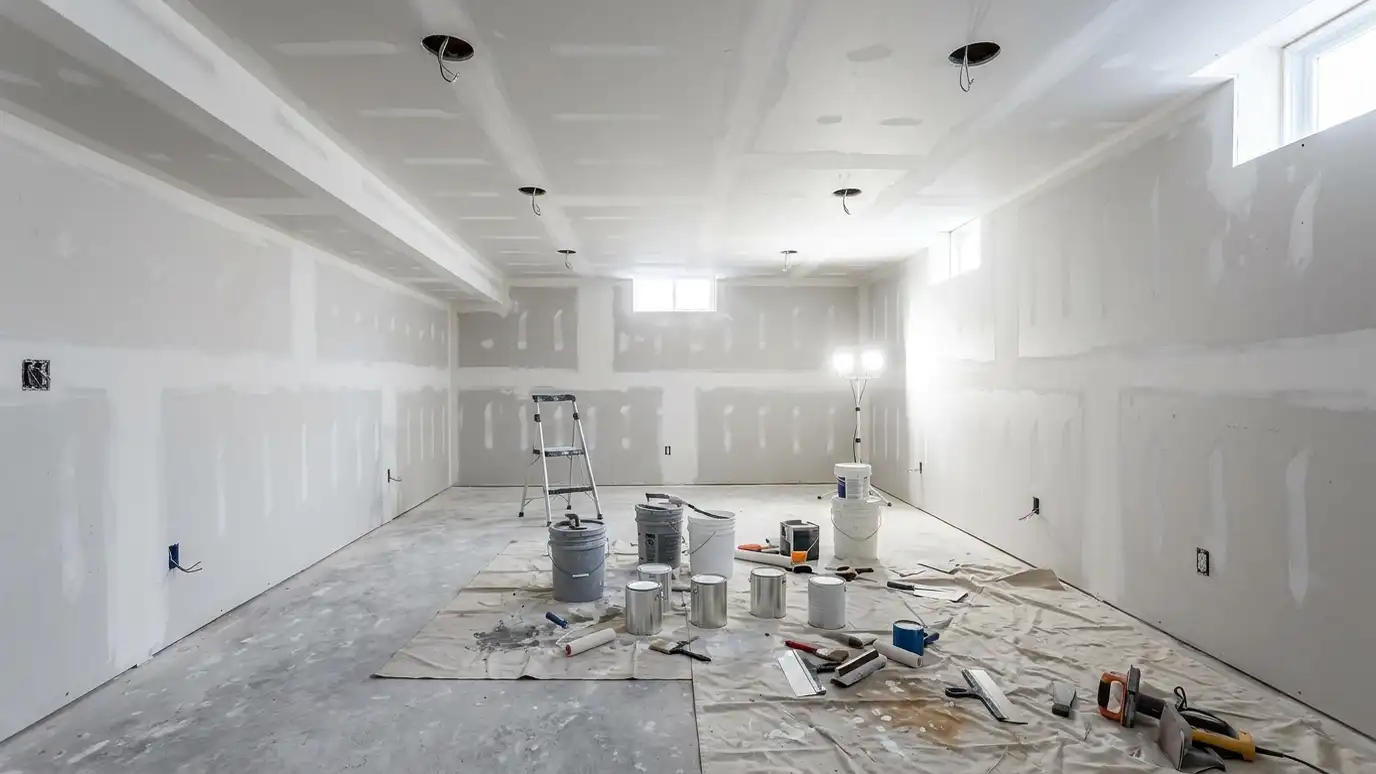
Sheets are cut, fitted and fastened with screws at proper spacing. Ceilings are hung first, then walls. Gaps are kept small, and edges are tight.
Good hanging prevents popped screws and uneven surfaces later.
Corner bead is installed at outside corners for straight, durable edges.
Hanging drywall tightly against framing prevents later problems. Gaps and loose board lead to cracks, screw pops and uneven walls.
Taping and coating
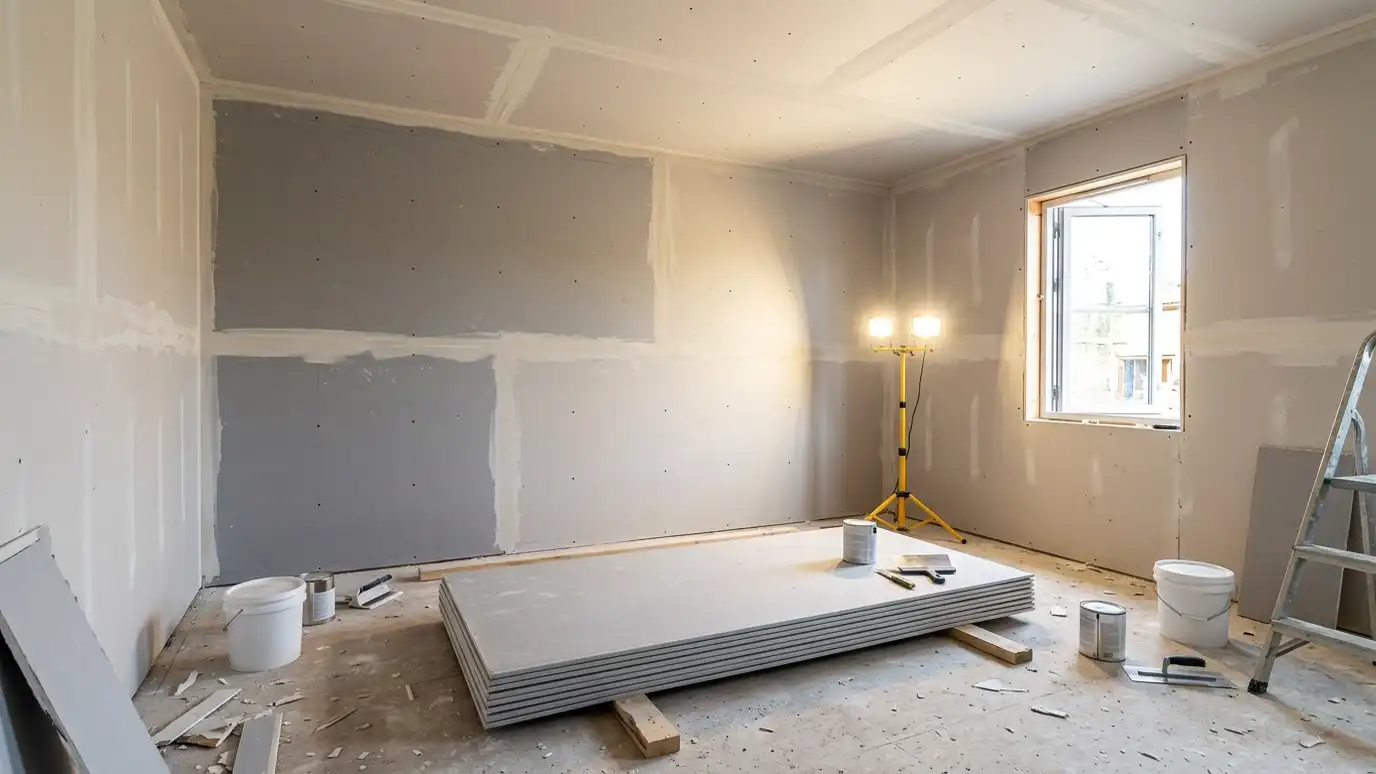
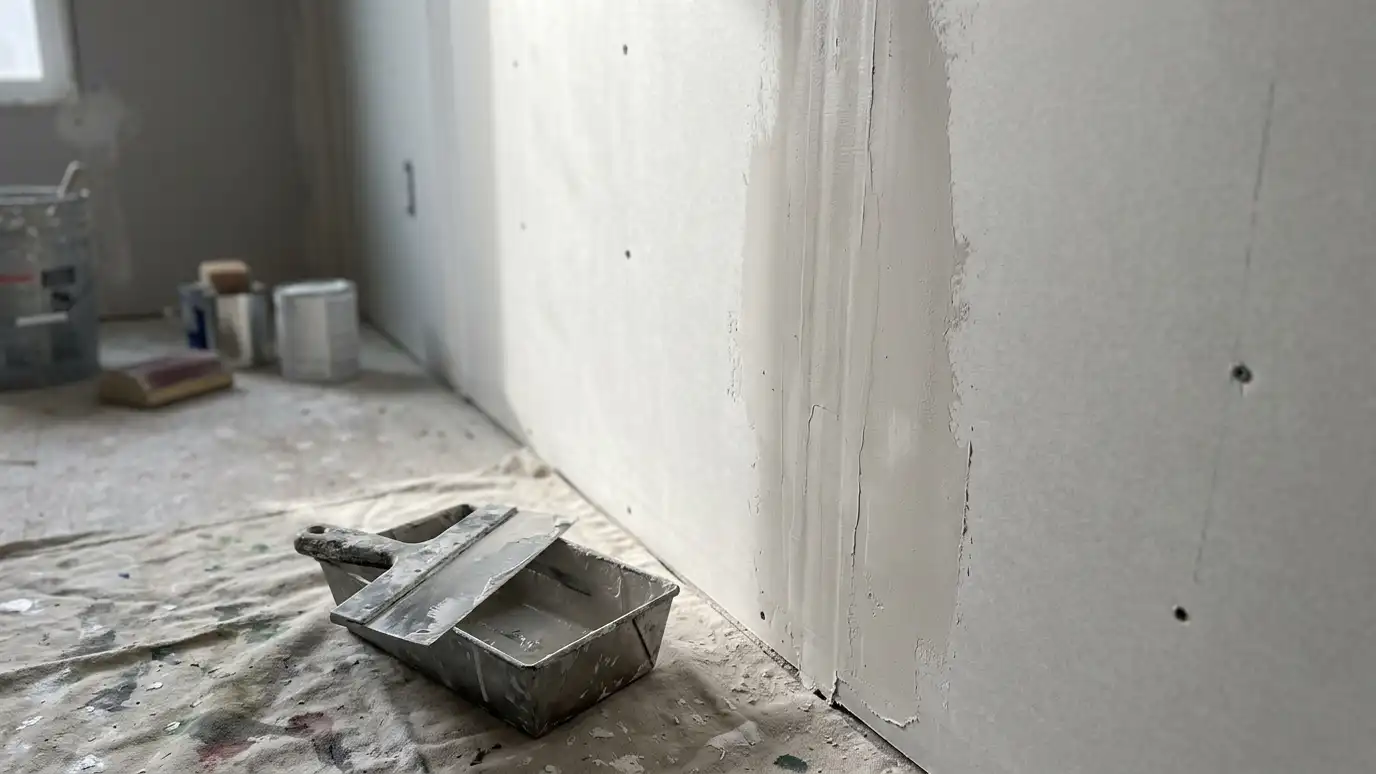
Joints and screw heads are covered with compound, and tape is embedded in the joints. Several thin coats follow, with drying time between each.
Thin, wide coats feather the joints into the wall so they disappear under paint.
Rushing coats leads to cracks and ridges.
Each coat of compound needs to dry before the next. Temperature and humidity affect drying time, so a realistic schedule includes extra time in damp weather.
Sanding and finish levels
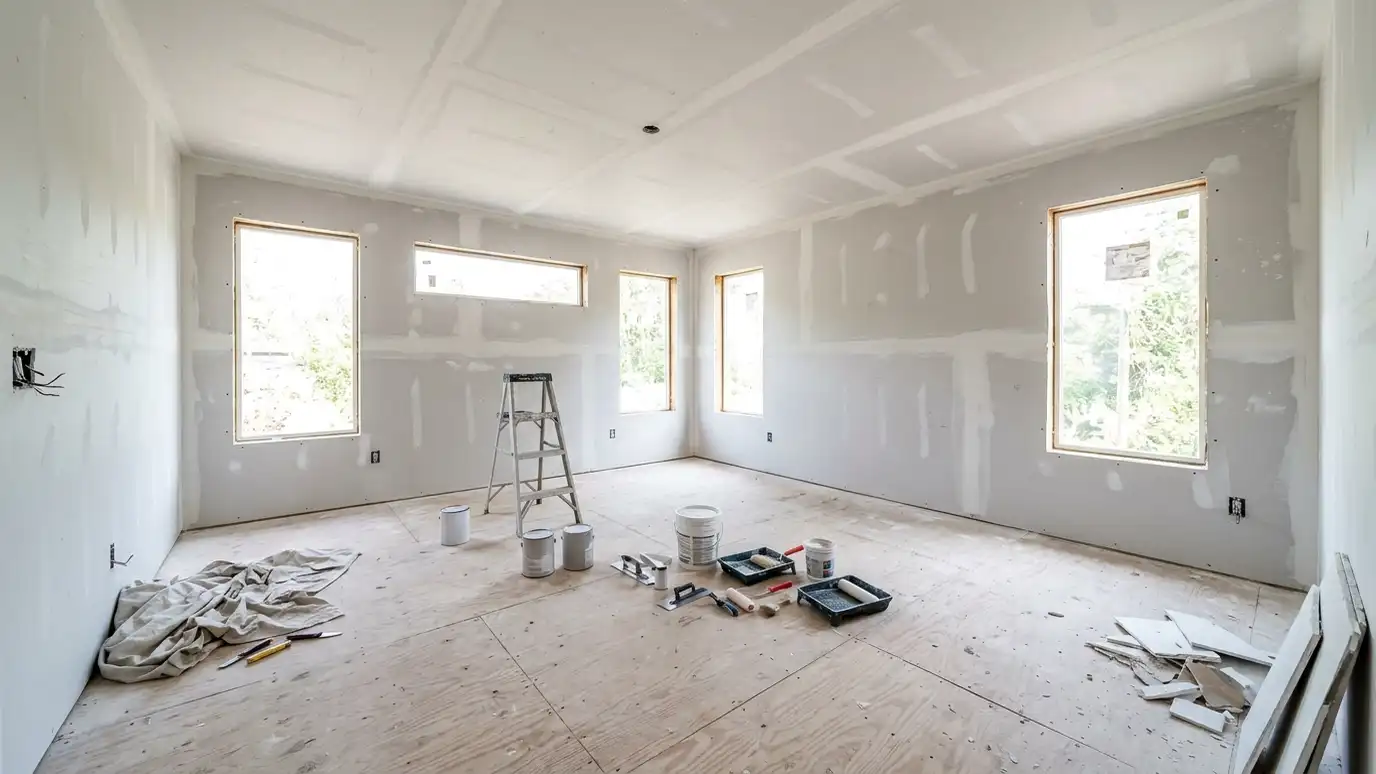
Compound is sanded smooth between coats and after the last coat. The finish level, from basic to full skim coat, is matched to the paint and lighting.
Glossy paint and strong side light call for smoother finishes.
Dust control keeps the home cleaner.
Finish level should match the paint sheen. A matte paint on level four is usually fine, while semi-gloss deserves a smoother surface.
Texture and priming
Texture can be sprayed or hand-applied to match existing walls or create a new look. Smooth walls skip texture.
Priming seals the compound and evens out absorption so paint looks uniform.
Skipping primer on new drywall is a common cause of patchy paint.
If you plan to add texture later, tell the finisher now so the base surface suits the texture. Planning ahead avoids wasted steps.
Painting and cleanup
Paint follows primer, usually two coats. We remove dust, protect floors and finish with a careful cleanup.
Because we also paint, the whole job can be done by one team.
We walk the project with you and fix anything that needs attention.
After the final sanding, wipe walls clean before priming. Dust left on the wall shows through paint as a rough surface.
Match the board to the room, finish to the paint and always prime new drywall.