Is painting right for your cabinets?
Painting works best when the boxes are solid and the layout is working for you. If doors are warped or water-damaged, or the layout needs to change, replacing may make more sense.
Oak cabinets with heavy grain can be painted, though grain shows unless it is filled.
We look at your cabinets honestly and tell you what to expect.
Open each cabinet door and look at the edges, hinges and inside faces. Honest inspection reveals whether a painted finish will hold up or whether the doors need repair first.
Removal and cleaning
Doors, drawers and hardware come off and are labeled. Kitchen cabinets collect grease, so thorough degreasing is the first and most important step.
Paint will not stick to grease and wax, and it will peel. Cleaning is not optional.
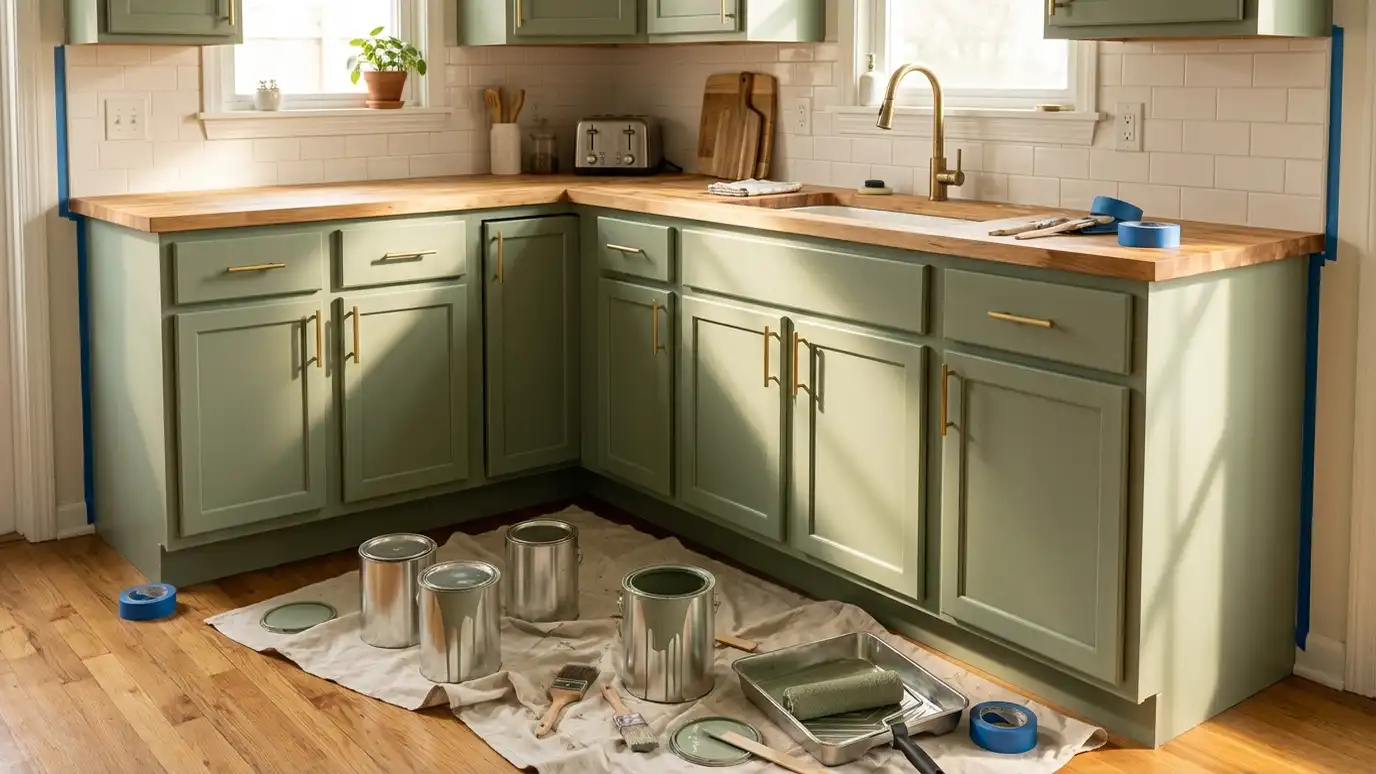
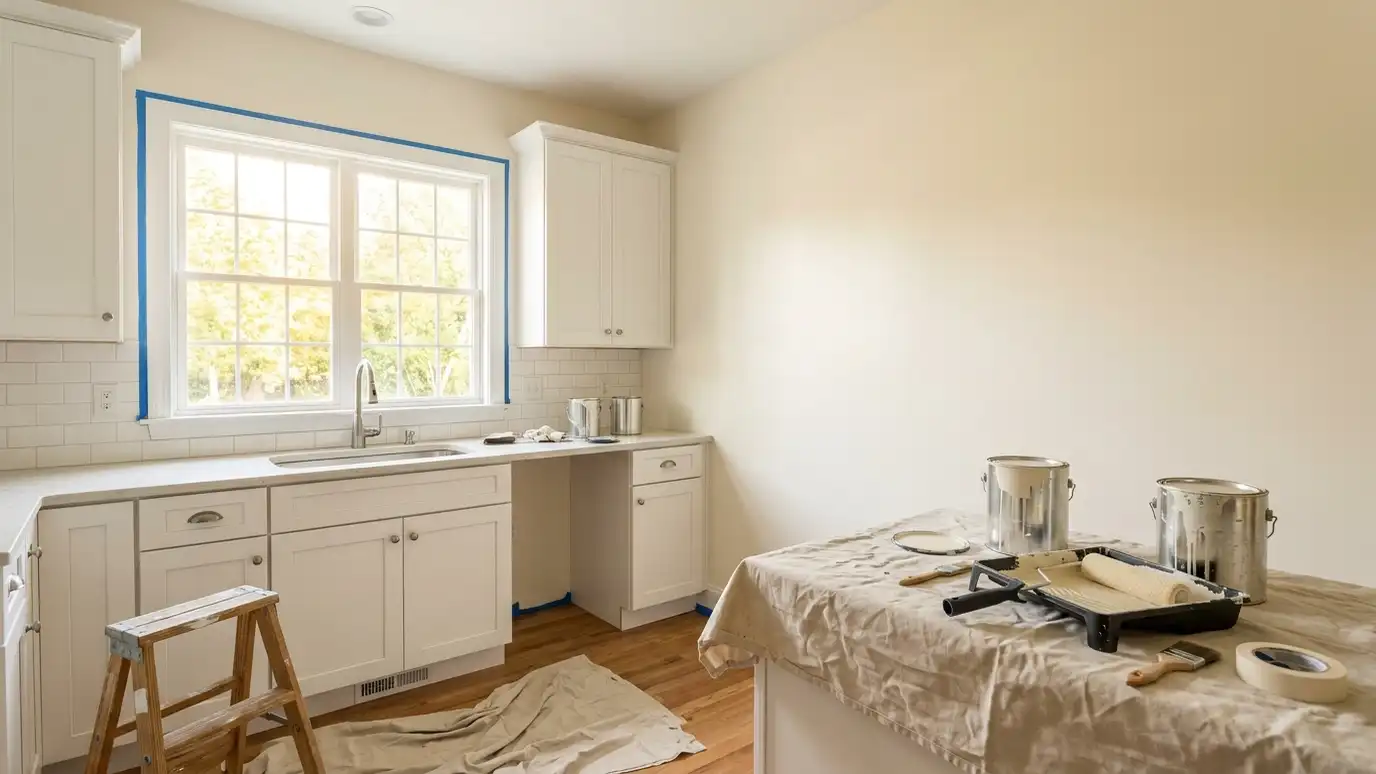
Boxes are cleaned in place and masked to protect counters and walls.
Label doors, drawers and hardware before removal. Keeping everything in order makes reassembly quick and keeps doors in their original positions.
Sanding and repair
Cabinets are sanded to dull the old finish and give the primer something to grip. Dents and holes are filled, and old hardware holes are patched if the pulls are changing.
Oak grain can be filled for a smooth look.
Dust is removed carefully, since dust under paint leaves a rough finish.
Sanding does not have to remove all of the old finish. The goal is to scuff it evenly so the primer can grip. Overdoing it can create dips and scratches.
Primer and enamel
A bonding primer sticks to slick surfaces and blocks stains. Then two coats of a durable cabinet enamel give a hard, smooth finish.
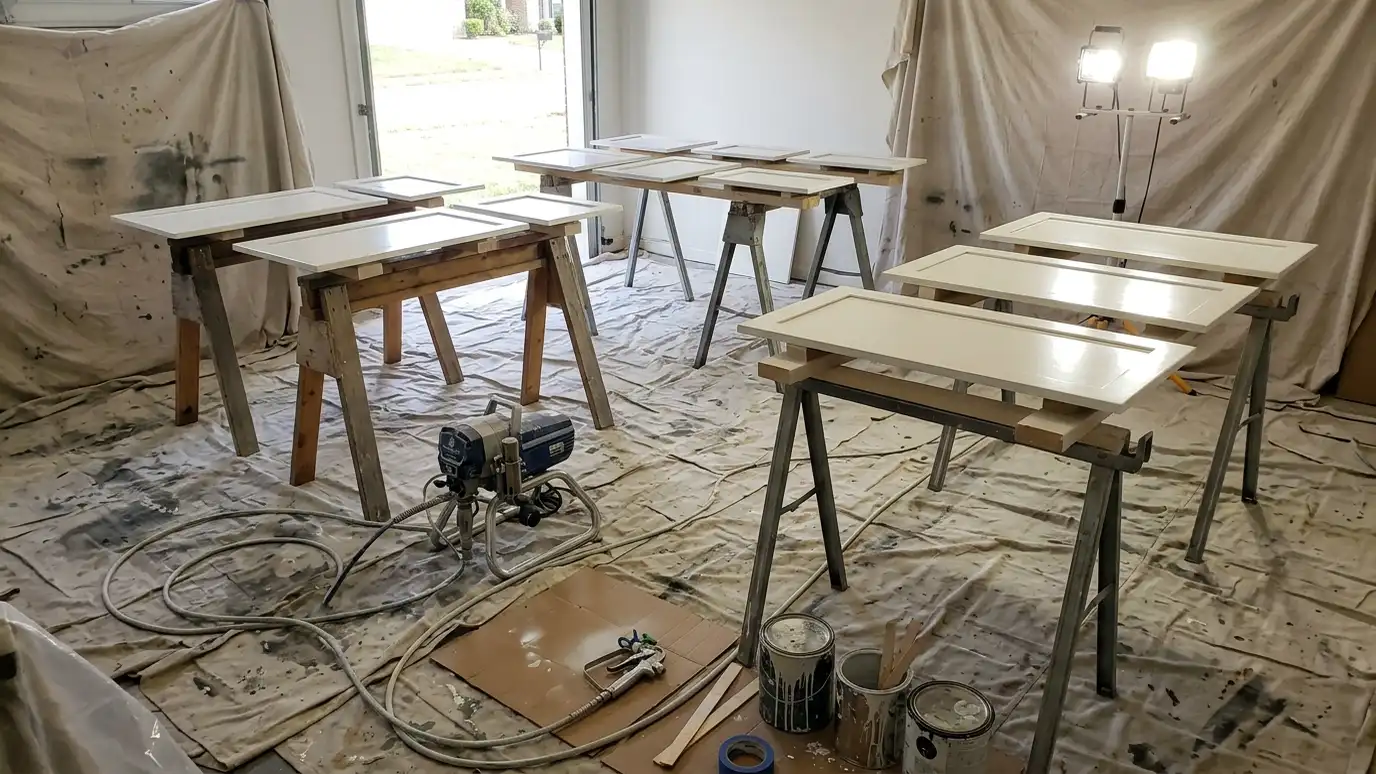
Spraying gives the smoothest results, while careful brushing and rolling can look very good too.
Each coat dries fully before the next, and the finish cures for days.
Let each coat of enamel dry fully before the next. Rushing makes the finish soft, and soft finishes dent and stick in the first weeks of use.
Reinstallation and care
Doors are reinstalled after curing, with hinges adjusted and new hardware added if desired. Soft-close hinges and new pulls make a big difference.
The finish takes days or weeks to reach full hardness, so be gentle at first.
Clean with a soft cloth and mild soap, and avoid abrasive pads.
In the first couple of weeks, avoid harsh cleaners and keep doors from slamming. Small bumpers inside doors help protect the finish while it hardens.
Common mistakes
Skipping degreasing, using ordinary wall paint, rushing cure time and using too thick coats are common errors. They lead to peeling, sticking doors and brush marks.
Cabinet painting is detail work. Doing it well takes patience and the right products.
A good plan and a clear schedule make the difference.
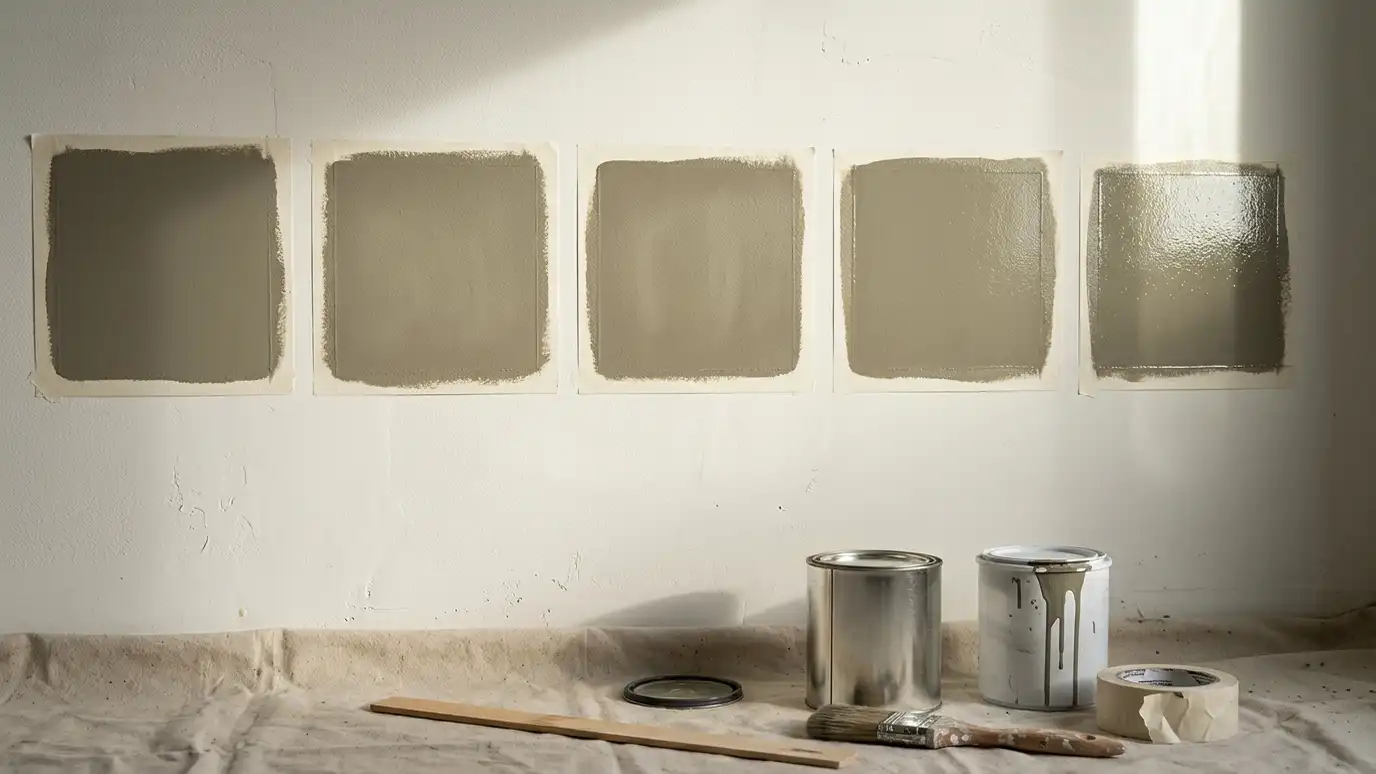
If you are unsure about a color, try a large sample board on a cabinet door and live with it for a few days, looking at it next to counters, floors and walls.
Degrease, sand, prime with a bonding primer and let a hard enamel cure fully.